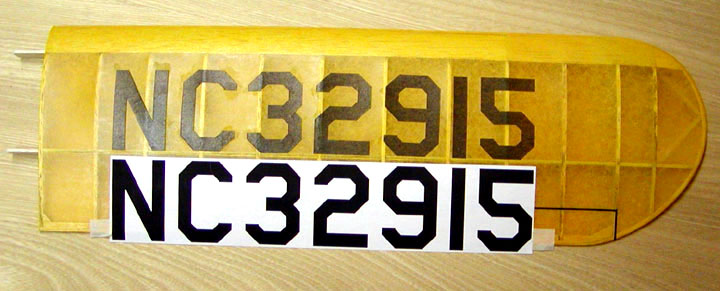
Yesterday I received the two pair of Amarillo USAF tissue wing letters/numbers in the mail that Steve Bruno from Oklahoma City cut out for me. They were absolutely perfect and I need to get him to instruct me on how he cuts out tissue letter/numbers. Thank you Steve!
I printed out the wing letter/numbers as a unit on a piece of bond paper and taped them to the wing to serve as a positioning guide as shown below. Using Gene Wallock's attachment technique, I placed the letter "N" on the wing, dipped a small brush in acetone, and tacked it down in various spots as shown at right.
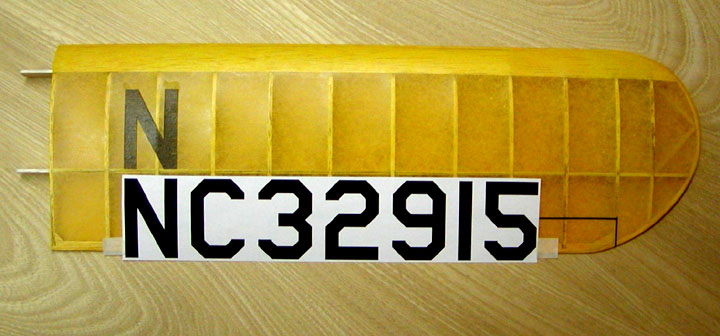
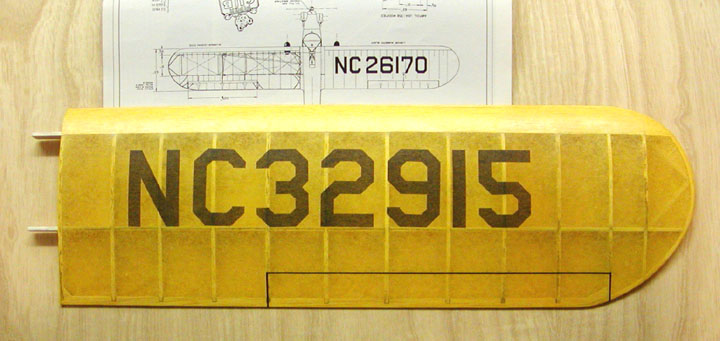
This picture shows all of the wing letter/numbers tacked down with the positioning guide still in place.
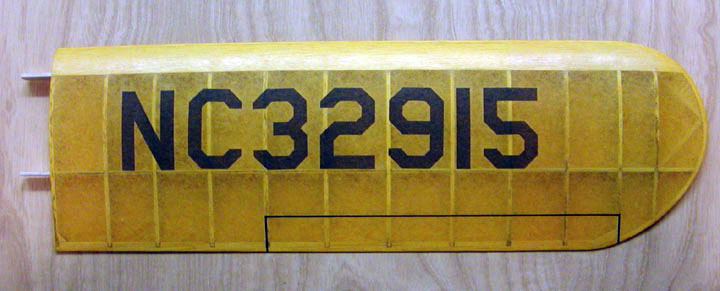
This picture(above) shows the wing letter/numbers tacked down on the top of the right wing panel.
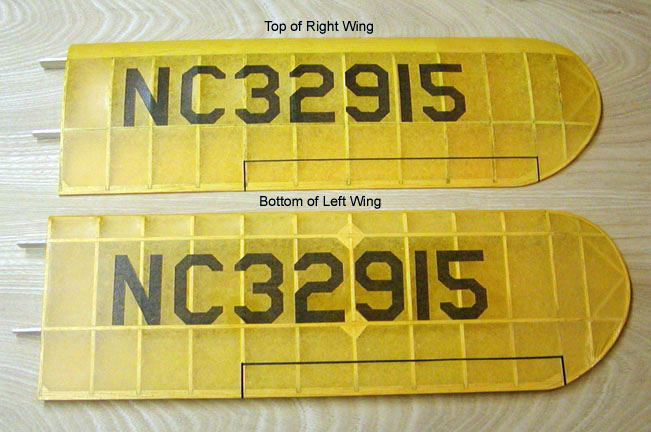
This pictures shows the wing letter/numbers with one coat of clear dope brushed on and shows how close the art geometry and proportions are to a scale drawing of an actual J-3 Cub. Tomorrow, I will put the letter/numbers on the bottom of the left wing panel. In the mean time, I am still trying to figure out how glue the windshield on.......................Tandy
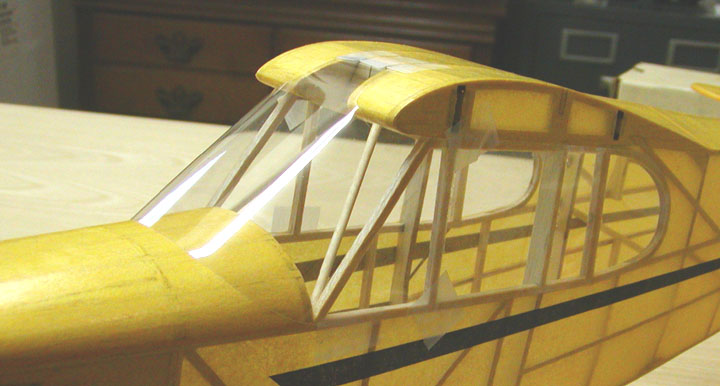
Right Side View
Stand Off View
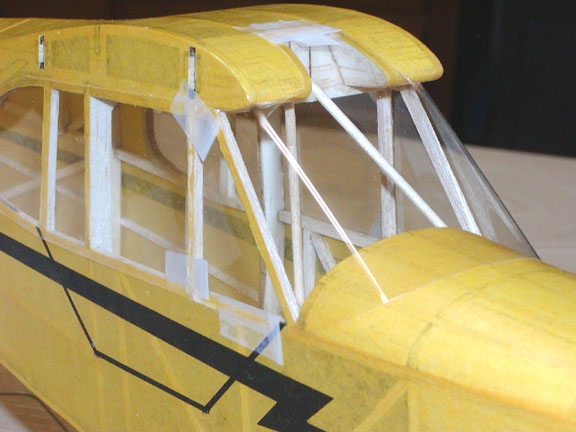
Over the last day or so I have had a number of inputs on good ideas on how to go about gluing the windshield on the J-3 Cub, which is going to be my next task. I will cut the windshield out of the styrene this afternoon and walk through a several trial fittings to see how this is going to work. At some point, I will bit the bullet and just start gluing it on. Wish me luck!.....................Tandy
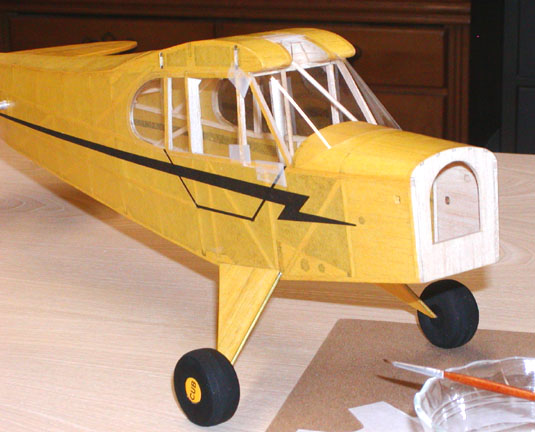
Well, I finally did it! After much practice at trimming and trial fitting, I finally glue the windshield on the fuselage's forward structure using Formula 560 canopy glue. Mike Midkiff had recommended earlier that I paint all of the structure that could be seen inside with Cub yellow. To me, there seemed to be too much wood showing, I was concerned about getting paint onto the yellow tissue, and besides, I would not know where to stop painting. So I did not follow his suggestion on this matter. For now, the windshield is glued down in only three places, (1) across the top, (2) the vertical side post on the right, and (3) the vertical side post on the left. Later I may come back and try to glue the windshield around the cowl, what do you think? The three pictures at left and below show the windshield taped down while it will be left to dry overnight..................Tandy
Left Side View