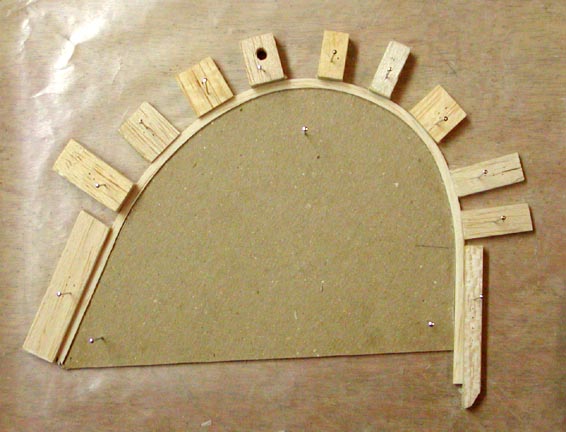
After we got home from church this morning, I unpinned the stab and removed it from the plans. Since the stab and elevator are now one piece, it would not fit into the fuselage stab slot, so I had to cut out a section of the tail post in order to slide the stab into place. The picture at right shows the trial fit of the stab and rudder on the aft fuselage.
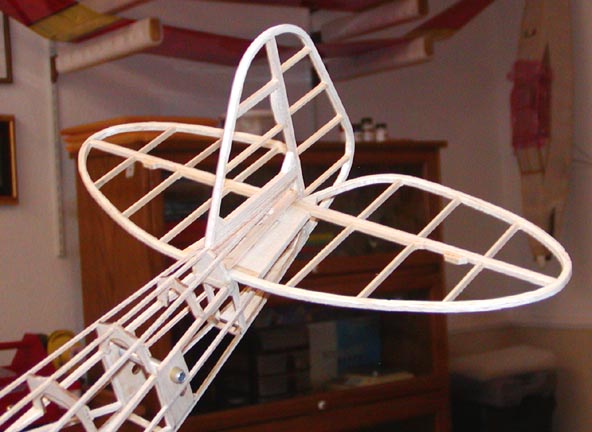
Here is another shot from a different angle....................Tandy
At this point the drill for the wing tip is well known: (1) trace the wing tip pattern off of the plan, (2) cut the pattern out and trace it onto the 1/8" card board, (3) cut the card board template out, and (4) pin the template down on the work table over a piece of wax paper. I stripped out three more 1/24" X 1/8" balsa strips, soaked them in hot water for about an hour, put Titebond glue between the three pieces (the spline), and formed it around the card board template while pinning holding blocks to hold the spline against the template to shape it. This is shown in the picture below.........................Tandy
I actually removed the left wing frame from the plan at this point to glue on the wing tip spline. The picture below shows the wing tip spline glued in place. I also took time out to lay up the right wing tip spline so could be drying the rest of the day and overnight.

Here is another shot of the left wing from a different view. I had to be a little creative out at the tip to get the 1/32" leading edge planking to conform to the tip compound contour. I became concerned about the unsupported tip spline in the area between the front and rear spars and added a "V" support with 3/32" square as shown below.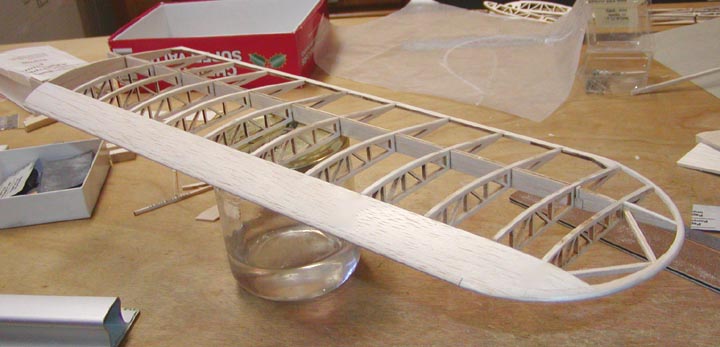
This afternoon I may start the lay up of the right wing panel or I may take a break as I have been working pretty steady on this project.
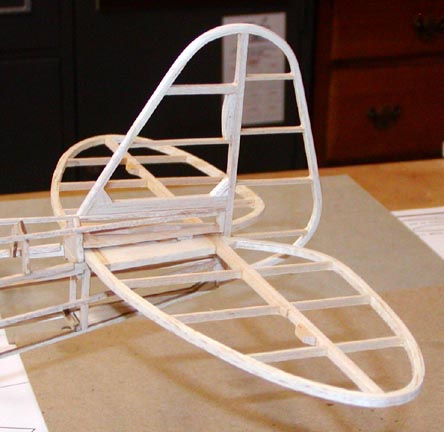
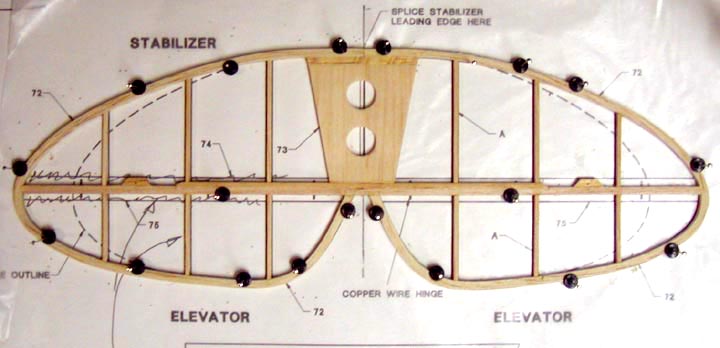
Before I started working on the wing today, I took this picture of the finished tail group. Both have been finished sanded and are ready for covering.

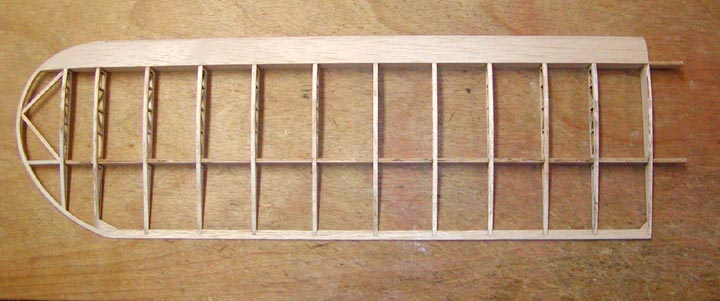
Once the wing tip spline had dried overnight, I started framing up the left wing panel yesterday morning. The lay up is shown below with the wing tip spline just laying at the tip on the plan.

I spent the rest of the day planking the top of the leading edge, integrating the wing tip spline into the wing structure, and shaping the trailing edge. A view down on the finished wing is shown below.
As you can see, I spent a fair amount of time integrating the small 1/8" square wing tip spline into the structure out at the wing tip and adding thin balsa strips to get the spline to blend in properly. The picture below is an attempt at showing the detailing of the integrated wing tip.

