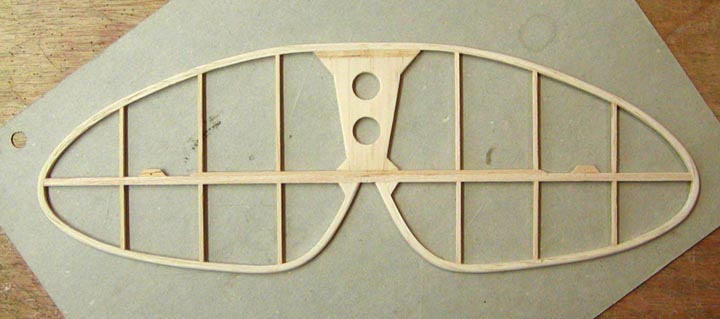
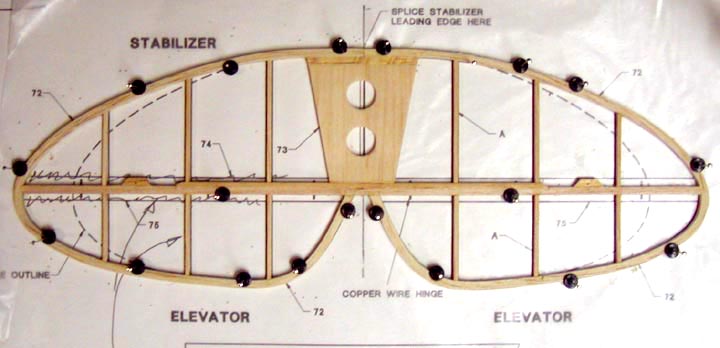
I didn't do much on the Cub today as I was not feeling up to it. However, I did accomplish one task. Mike Midkiff sent me a message several days ago suggesting that I make the lighten holes shown at right in the stab's center section bigger to eliminate all of that excess wood.
If I made the holes bigger, they would extend out beyond the fuselage stab mount. The excess wood is really all outside the fuselage stab mount on the edges. So I decided to carefully remove a 1/4" strip from each of the outside edges, which also removes excess wood where it not needed as shown below.........................Tandy
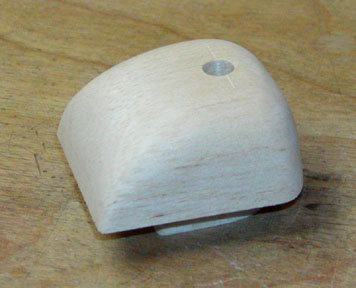
I shaped the new nose block, maintaining the profile shape, and drilled the 4 degree down and 2 degree right thrust line as shown below.
I built a new plug key for the nose block and glued it onto the rear face as shown below.
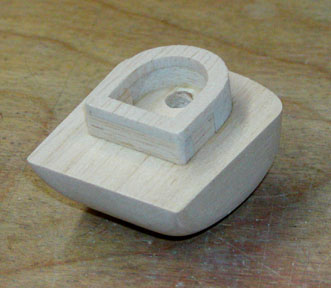
This is another view of the new nose block. I think you will agree that the new nose block profile provides a more scale looking front end that sort of captures the character of a J-3 Cub, even though the new nose block is not true scale.

I was going to finish the remainder of the model's structure before I went back and made the new nose block, but it was bugging me so much that I decided to stop the project and make the new nose block.
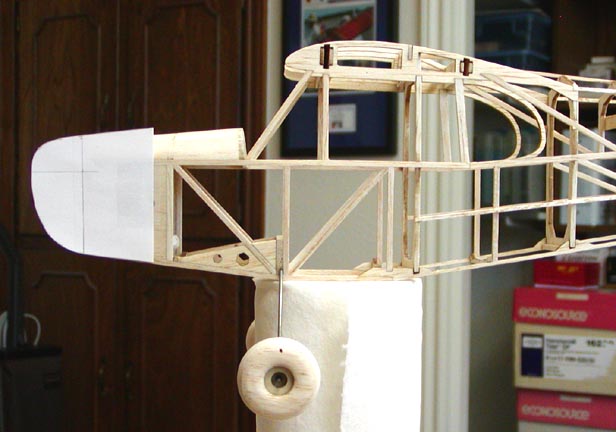
To recap, the fuselage is already built with the front end's 13% increase in width. To try and change this would be disastrous and probably result in scraping the whole J-3 Cub project. Besides, The added width to the nose does permit room for the insertion of the 3/4" PVC blast tube. Therefore, I had to look at increasing the nose thickness, but how much? I decided to increasing the short 0.56" nose block thickness by the same proportion as the 13% increase nose block width. This provides a nose thickness of (0.56 X 1.13) = 0.85". Keeping the profile thrust line at the same location as on the plans and using the 3-view profile shape, I carefully sketch out the resulting nose block profile on paper. I cut out the new profile and taped it to the front of the model's fuselage as shown at left.
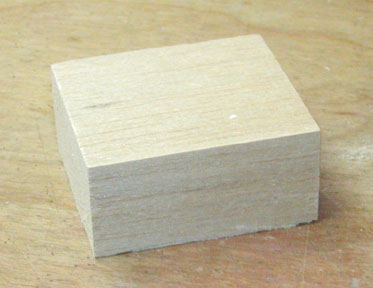
I cut some medium soft block balsa down to size for the new nose block as shown below.
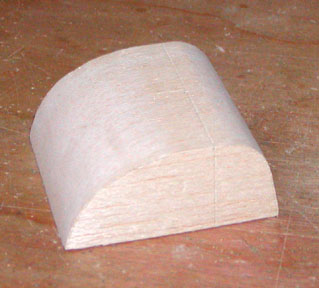
I traced out the nose block profile on the sides of the balsa block and cut out the profile shape as shown below.
The picture below shows the fuselage profile with the new nose block installed on the front.

These results provided me with enough satisfaction that I can now continue the J-3 Cub project...............Tandy
